Klee Prank Adventure
Play Klee Prank Adventure
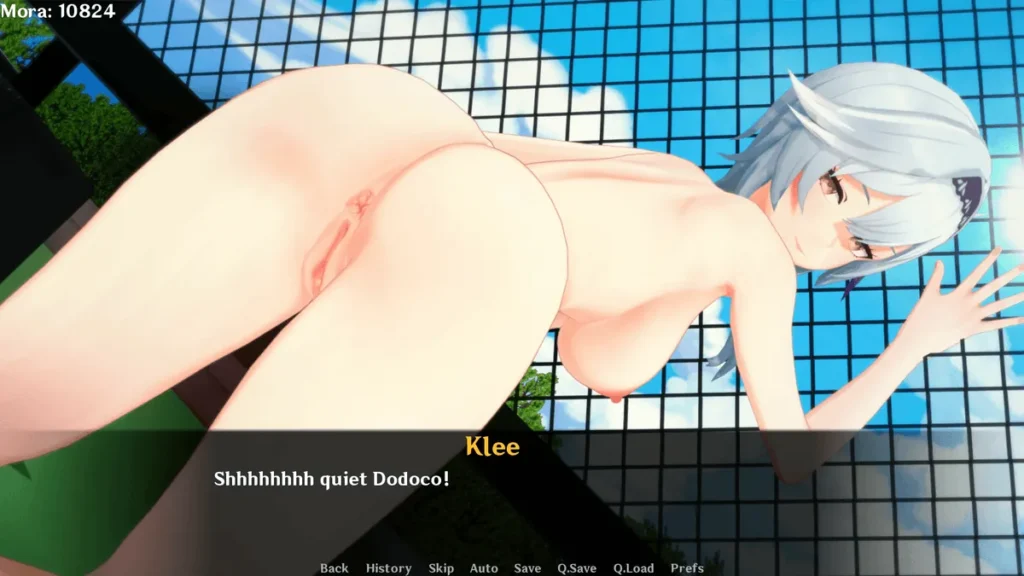
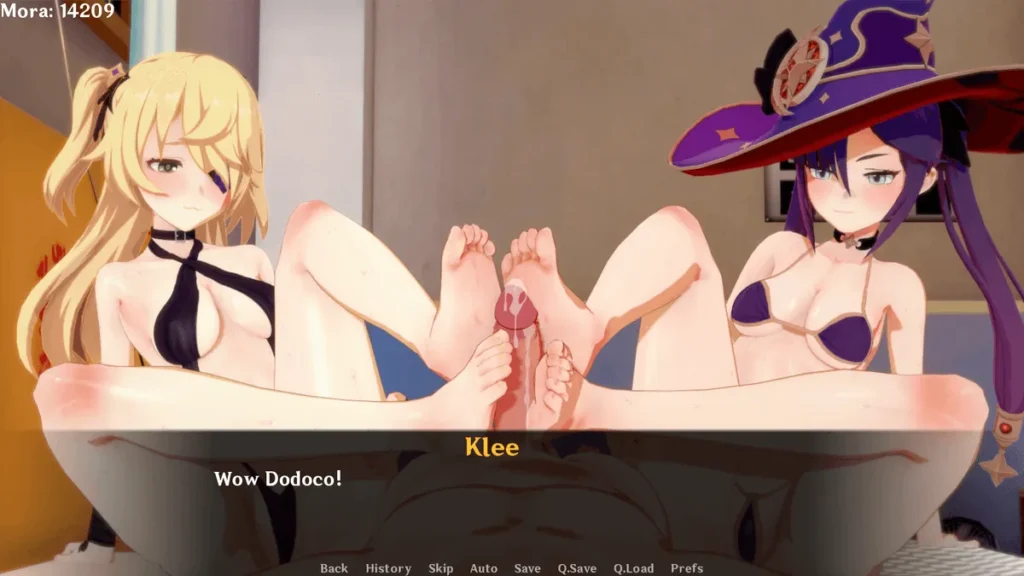
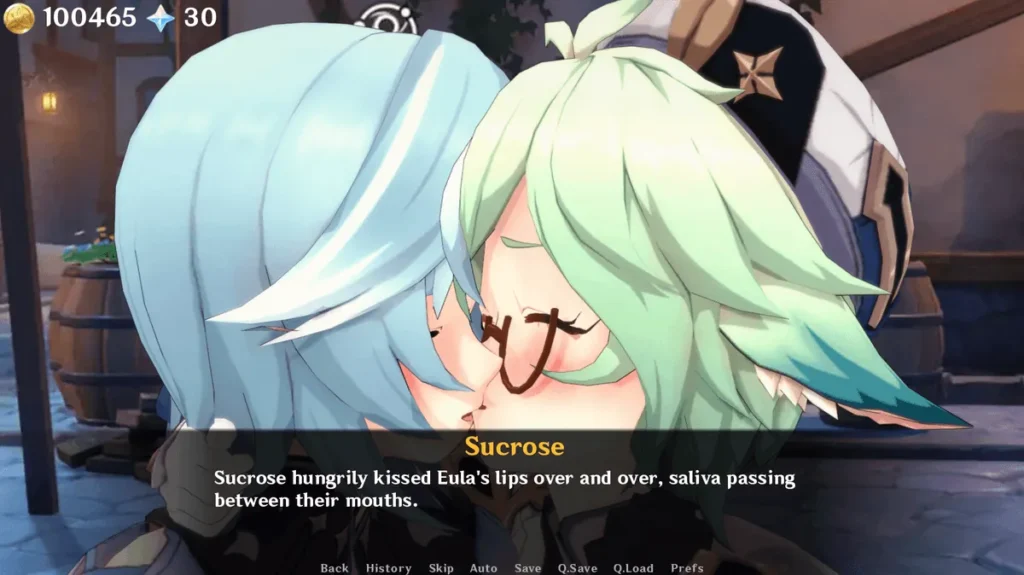
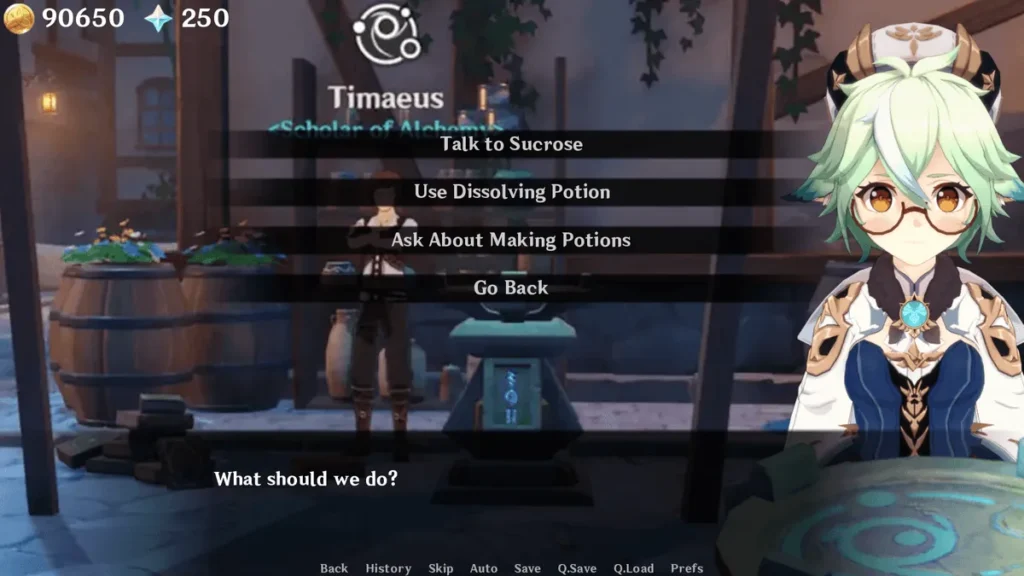
Klee Prank Adventure Screenshots


Klee Prank Adventure review
Master every prank, location, and character in this fan-made adventure game
Klee Prank Adventure is a fan-created parody game that brings characters from a popular anime universe into an interactive experience. This guide covers everything you need to know about navigating the game world, completing pranks, earning currency, and unlocking all available content. Whether you’re just starting your adventure or looking to maximize your gameplay experience, this comprehensive walkthrough will help you progress through every stage of the game with practical tips and strategies.
Getting Started: Navigation and Core Mechanics
So, you’ve just booted up Klee Prank Adventure and you’re staring at the screen, that mischievous glint in Klee’s eyes mirroring your own. I remember my first time—total chaos! 🎮 I wandered around, clicking everything, not realizing the simple three-button system was my key to pranking paradise. Don’t worry, that’s why this guide exists. Let’s ditch the confusion and master the basics together, so you can focus on the fun part: causing delightful havoc across Teyvat.
Understanding the Game Interface and Controls
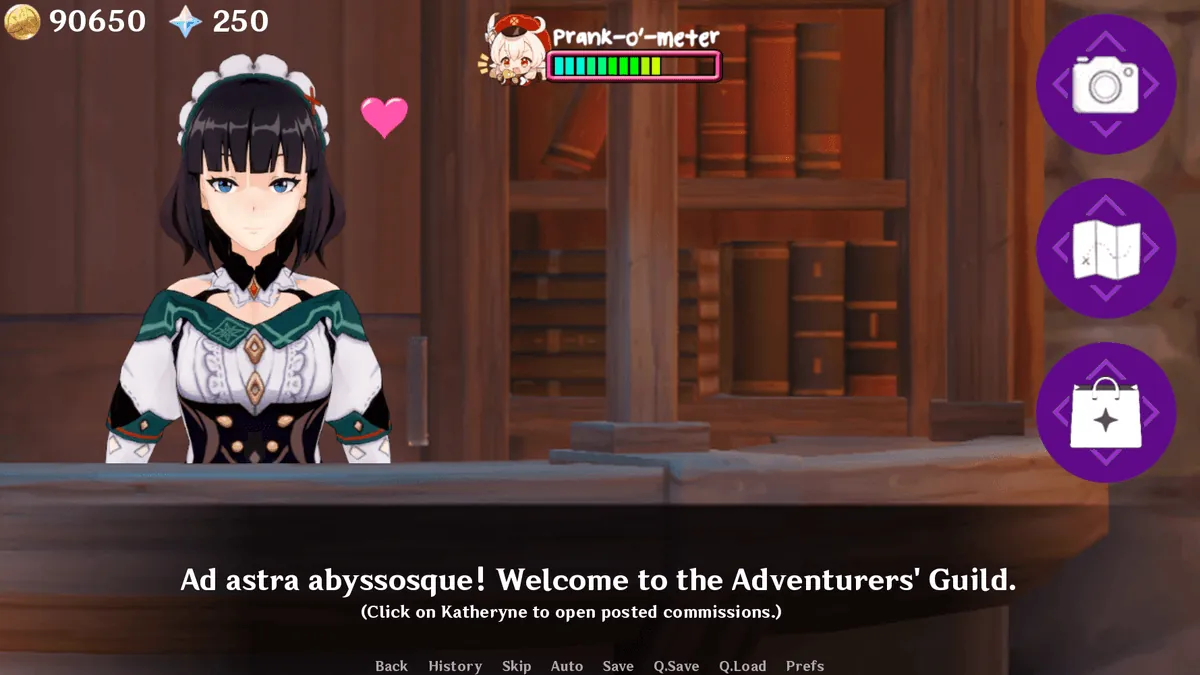
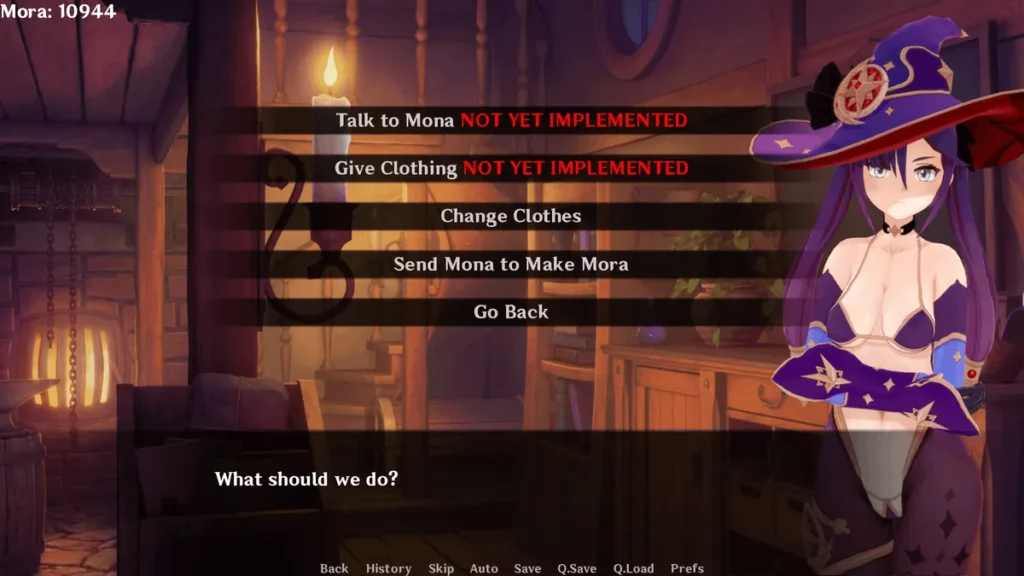
Right off the bat, the Klee Prank Adventure interface is designed to be intuitive, but it’s easy to miss the elegance if you’re rushing. Think of it as your prankster’s command center. Smack in the center of your screen, you control Klee, but your real power lies in three persistent buttons. Mastering these is the first step to mastering the game.
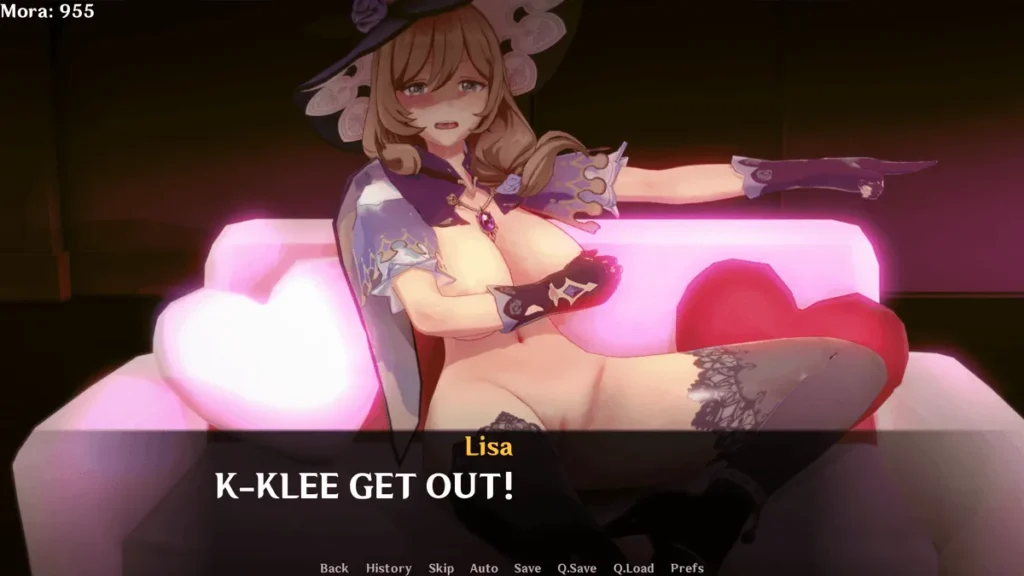
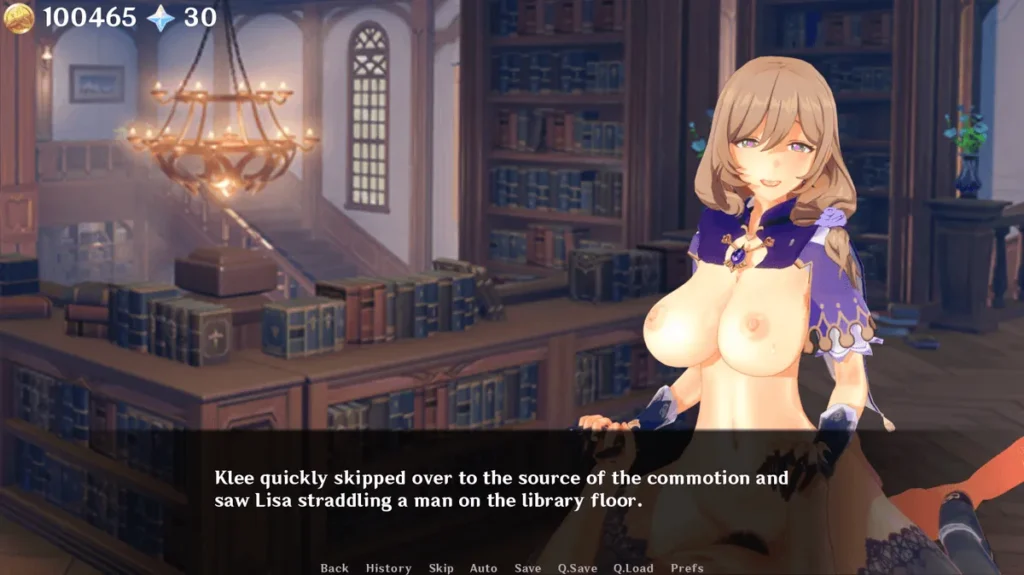
Let me break it down with a story from my early playthrough. I was in the Knights of Favonius headquarters, saw Lisa napping at her desk, and had a brilliant idea for a whoopee cushion prank. But I fumbled! I kept tapping Klee herself instead of using the tools. That’s when I learned: the interface is your toolkit, not the world itself.
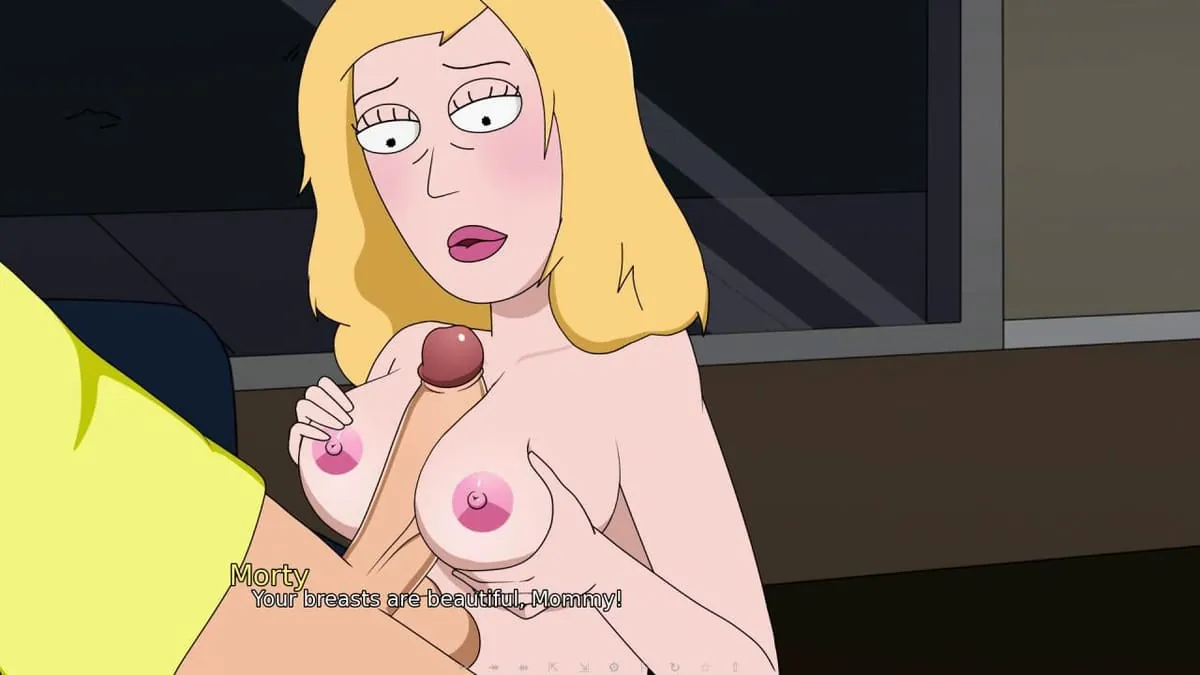
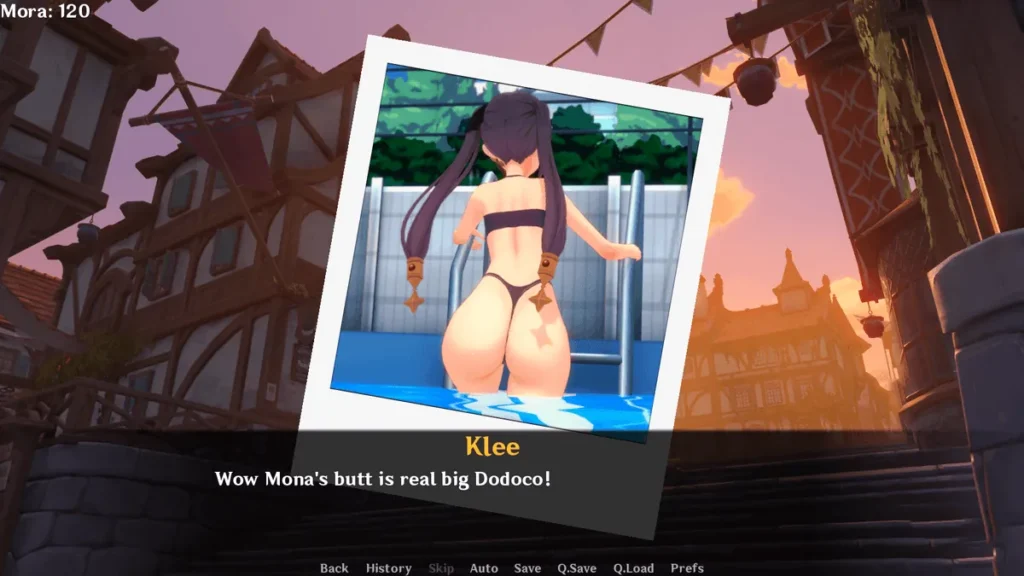
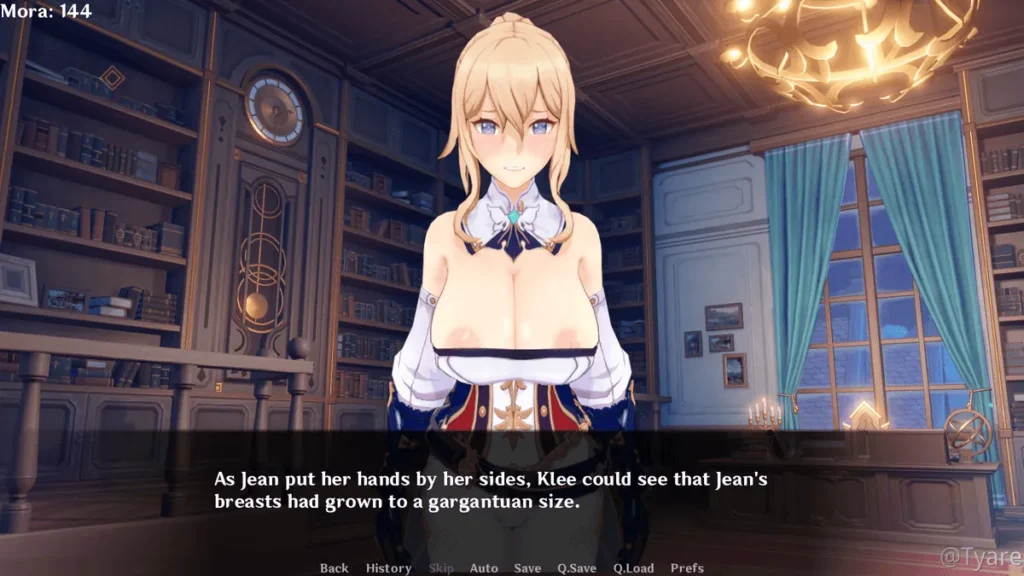
The top button is your Camera. This isn’t for souvenirs; it’s your primary earning mora machine! Tap it when you see a character in a funny or compromised position (Jean stressed over paperwork, Bennett in the middle of another mishap). Snap a pic, and cha-ching—Mora rolls in. 💰
The middle, metallic button is your Map. This is your strategic overview of all game locations red dots. More on this in a second.
The bottom button is your Junkshop. This is where junkshop prank tools come from—your arsenal of chaos, from itchy powder to fake slimes, all purchasable with your hard-earned Mora.
Getting comfortable with this layout is crucial for smooth Klee Prank Adventure controls. Here’s a foolproof, step-by-step guide to accessing everything:
- Locate the Three Buttons: Glance at the edges of your screen. Top, middle-right, bottom. They’re always there, your constant companions.
- Practice Tapping Each: Before even moving Klee, tap the top button to see the camera viewfinder. Tap the middle to see the map pop up. Tap the bottom to peek at the shop. Get the muscle memory down.
- Return to Gameplay: Tapping any open area outside these menus will always close them and return you to controlling Klee.
- Combine Actions: The real magic happens when you chain these. Spot a prank opportunity? Open the map, travel there, take a photo for mora, then hit the junkshop to buy the perfect tool for the job.
This simple loop is the heart of the Klee Prank Adventure interface. Once it’s second nature, you’ll be pulling off complex pranks without a second thought. And remember, your current Mora balance is proudly displayed in the top-left corner of the screen—keep an eye on it!
Navigating Locations and Using the Map System
If the three buttons are your tools, the map is your treasure chart. 🗺️ Figuring out how to navigate map sections efficiently is what separates the rookie from the master prankster. The world isn’t open all at once; it unlocks as your Prank Meter (a little bar that fills as you successfully pull off gags) increases.
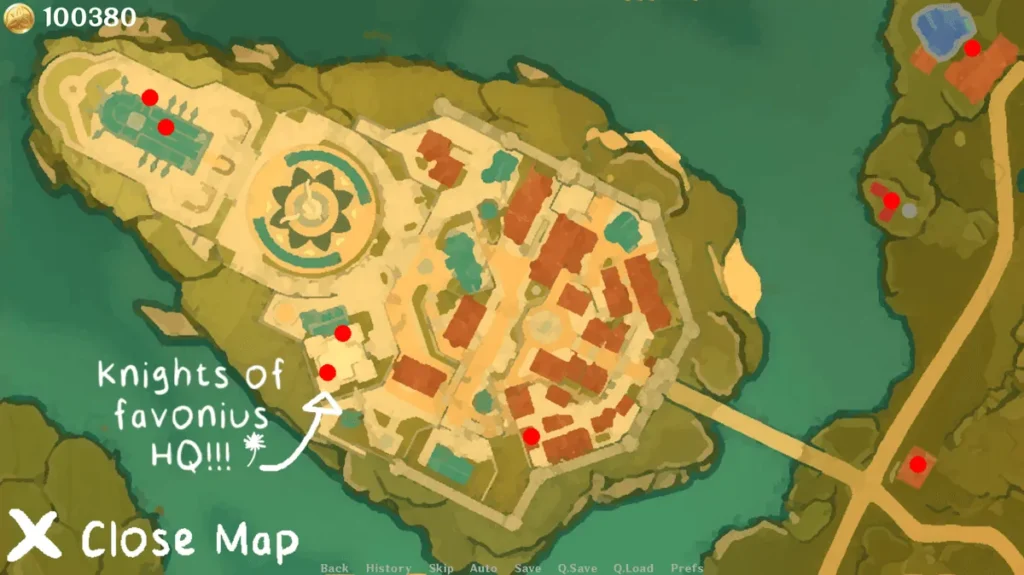
The map itself is a stylized layout of familiar locales: the Knights of Favonius Headquarters, the Cathedral, Angel’s Share, and more. But the critical elements are those game locations red dots. Each red dot represents a specific, interactive spot within a larger area. For example, “Headquarters” might have red dots for “Library,” “Office,” and “Hallway.”
Here’s my personal case study on how to navigate map features. I needed to find Diluc for a specific vinegar-in-the-wine prank. I opened the map and saw “Angel’s Share” had a pulsing red dot. I hovered my cursor over it, and a tooltip said “Tavern Counter – Diluc present.” A click, a quick loading screen, and bam—I was right behind him, ready to strike. This hover-and-click mechanic is your fast-travel system.
Pro Tip: Always hover over red dots before clicking. Some might indicate a character is present, while others might be empty but contain hidden Mora caches or special interactive objects for unique pranks.
Let’s get you practicing. For your first how to navigate map mission, follow these steps:
- Press the metallic Map Button. Don’t be intimidated by the red dots!
- Slowly move your cursor over the red dot for “Favonius Headquarters – Main Hall.” You should see a description pop up.
- Click on that red dot. You’ll be transported there.
- Once loaded, immediately press the map button again. See how your position is now highlighted? This is how you check where you are and plan your next move.
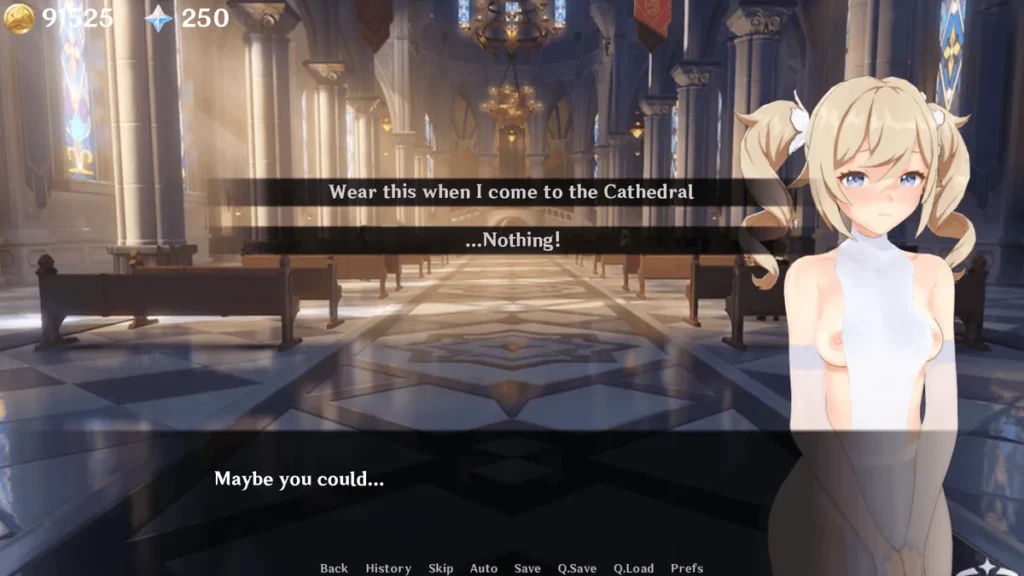
- Now, hover and click on a red dot in a different area, like “Cathedral – Pews.”
Practicing this zoom-around-the-world feeling is key. The Klee Prank Adventure controls for navigation are all about this map interaction. Early on, focus on visiting every red dot in an unlocked area to scout for photo ops and understand the layout. Efficient navigation means less wandering and more pranking—and earning!
Currency System: Earning and Spending Mora
Alright, let’s talk about the lifeblood of your mischievous operations: Mora. 🪙 The Klee Prank Adventure currency system is beautifully straightforward. You need Mora to buy everything from the Junkshop, and earning it is a core gameplay loop. Think of it as funding for your artistic projects of chaos.
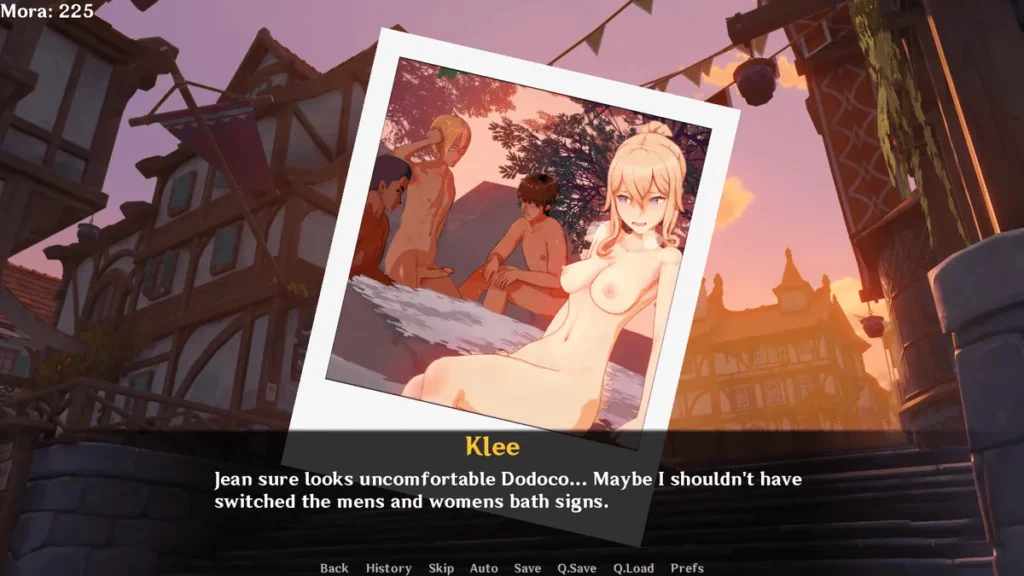
So, how do you fill those coffers? My first earning mora guide tip is this: be a paparazzi. Your camera is your best friend. Any time you see a character in a silly situation—like Kaeya slipping on a strategically placed banana peel (your doing, of course)—snap a picture. The more embarrassing or perfectly timed, the bigger the mora reward. It’s not just about pranks; it’s about documenting them!
But grinding photos can only get you so far. For serious earning mora, you need to know the best grinding locations. Based on hours of testing (and funding an extensive slime-based arsenal), I’ve found two standout early-game spots:
- The Shower Room (in the Knights’ barracks): A consistent source of photo ops with characters like Amber or occasional surprised knights. It offers decent, steady mora.
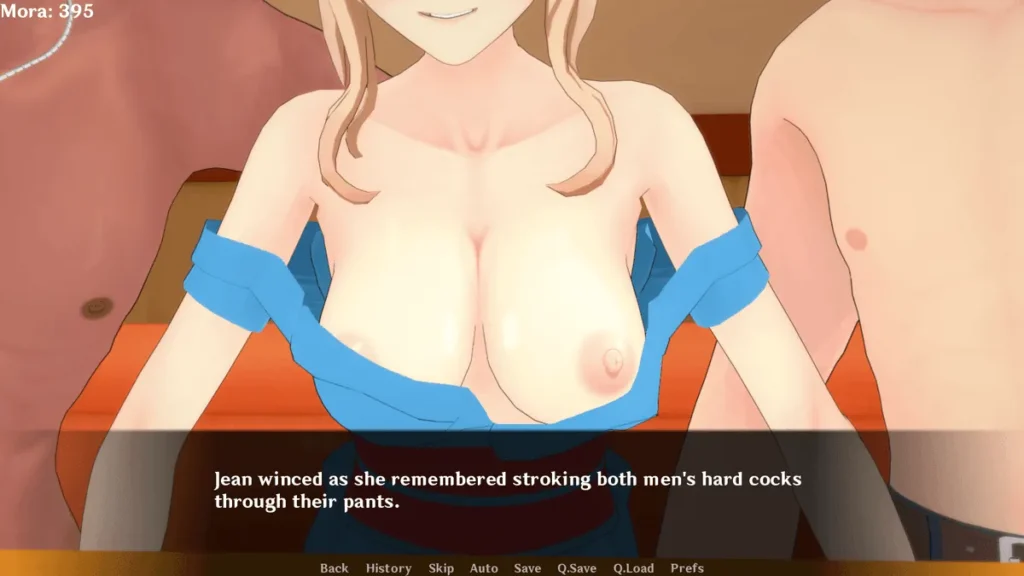
- Private Areas (like Jean’s office or Diluc’s wine cellar): These spots often have hidden mora pouches or objects that yield Mora when interacted with. The yield is higher, but access is sometimes gated behind a certain Prank Meter level or requires a specific tool to enter.
This is where a smart earning mora guide becomes crucial. You need to balance risk, reward, and accessibility. To help you plan your grinding sessions, here’s a comparison I wish I had when I started:
| Grinding Location | Primary Mora Source | Average Mora Yield | Accessibility & Notes |
|---|---|---|---|
| Shower Room | Character Photos | 50-100 Mora per photo | Unlocked early. Low risk, reliable but slower income. Great for beginners. |
| Private Areas (e.g., Jean’s Office) | Hidden Objects & Photo Ops | 150-300 Mora per find | Often requires Prank Meter Level 2+. Higher yield, but characters may catch you, resetting the area. |
| Cathedral Pews | Photo Ops (Barbara praying, etc.) | 75-125 Mora per photo | Unlocked early. Very safe, moderate yield. Good for mixing up your routine. |
| Angel’s Share Cellar | Hidden Wine Bottles (interact) | 200 Mora per bottle | Requires a Lockpick from the Junkshop to enter. High one-time yield, then respawns slowly. |
Once your pockets are jingling, it’s time for the best part: shopping! The Junkshop is where mora turns into mayhem. The junkshop prank tools range from simple firecrackers to elaborate contraptions. My personal favorite early purchase is the Itchy Powder—cheap, effective, and works on almost anyone. 🎉
Remember, the Klee Prank Adventure currency system is a cycle: Earn Mora through photography and exploration, Spend Mora on better tools in the Junkshop, use those tools to pull off bigger pranks that fill your Prank Meter and unlock new areas with new earning mora opportunities. It’s a perfectly mischievous loop.
So, there you have it—your foundation for dominating Klee Prank Adventure. You now know the Klee Prank Adventure controls for your interface, the secrets of how to navigate map points with precision, and a solid earning mora guide to fund your fun. Get out there, start snapping those photos, and slowly build your repertoire of junkshop prank tools. The entire world of Teyvat is about to become your playground. Happy pranking
Klee Prank Adventure offers a unique gameplay experience with multiple layers of progression, from basic navigation and mora grinding to complex quest chains and character interactions. Success in the game requires understanding the core mechanics—navigating locations efficiently, managing your currency wisely, and completing pranks in the proper sequence. By following this guide, you’ll be able to unlock all available content, maximize your rewards, and experience everything the game has to offer. Whether you’re focused on completing every quest or exploring all the hidden areas, the strategies and information provided here will help you progress smoothly through your adventure.